QMplus can be confusing and tricky to navigate. With our students accessing more and more of their learning materials online, it is more important than ever that we make our QMplus sites and pages engaging and easy to navigate, and draw students’ attention to key information and activities.
In this guide, we will explore how we can use the Snippet tool to achieve these aims. We will also introduce some new Snippets that were recently added to the QMplus Snippet tool and look at how they can enhance our online learning materials.
What’s a snippet?
A snippet refers to a small, reusable piece of content or code that can be inserted into various parts of the learning platform to enhance functionality or improve content presentation. These snippets are often used by course creators, teachers or administrators to streamline the development of consistent and engaging learning materials. Snippets can help streamline your content by making it easier to insert formatted text, code examples, instructional content, or frequently used elements. These might include styled callouts, instructions, or formatted elements that are reused across multiple courses.
Why use them?
Signposting content helps learners interact with the page more efficiently. Consistent use of these signposting elements throughout and across module sites, makes it easier for learners to navigate the site, and quickly and easily find information and identify key tasks.
The benefits of using the Snippets tool include:
- Consistency: supports a consistent and uniform design across activities and modules, so students don’t need to reorient themselves to a new site design with every module.
- Efficiency: saves staff time by avoiding repetitive tasks.
- Engagement: enhances visual appeal and interactivity.
- Customization: allows educators and develops to tailor content to meet specific needs.
- Wayfinding: aids in navigation and flags important elements to students.
Introducing the new Snippets
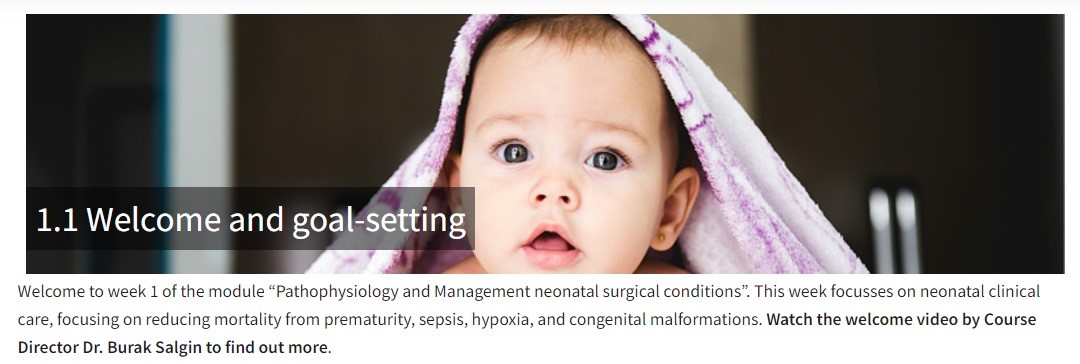
Hero Banner
Being able to pair a text heading with an image is a good way to mark the start of a page of content and visually set the scene for the subject matter of that content. The Hero Banner allows you to choose an image to represent the subject you’re introducing and enter your own text to overlay the image with, as shown in the example below.
Why not try the Hero Banner snippet on the Welcome page for your module, or for the start of a new topic?
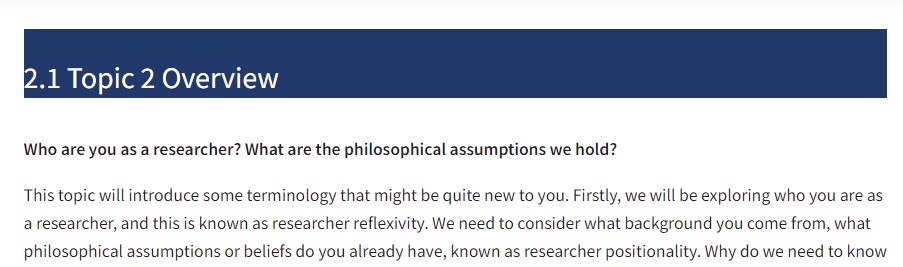
Title Banner
The title banner can help structure the content in a consistent way that helps learners recognize where sections of content begin and end.
Try this for subsequent pages or sections within a topic.
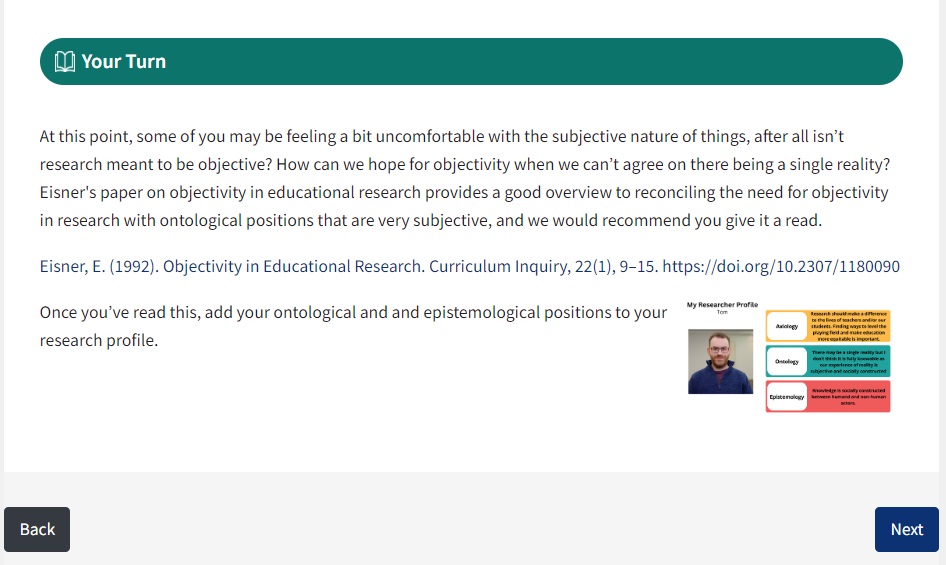
Your Turn headings
Within each section of content it’s helpful to flag where you are inviting the learner to engage in a learning activity in response to content presented so far. Using the new Your Turn headings adds visual consistency to these requests and makes it easier for students to quickly find these again later.
We have designed three new Your Turn headings for common learning activities:
1. Your Turn_Reading Heading
Try this when signposting the learner to read some linked resources.
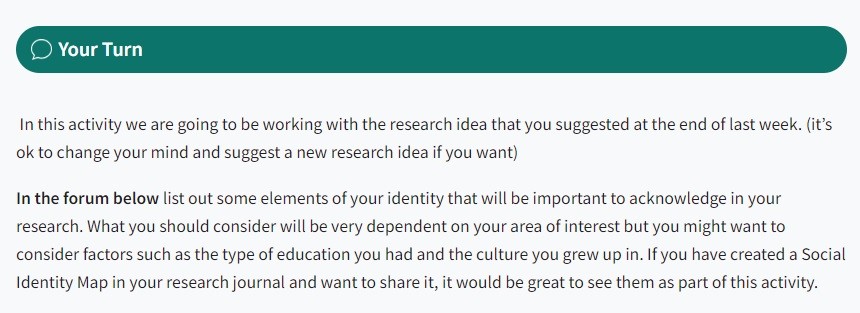
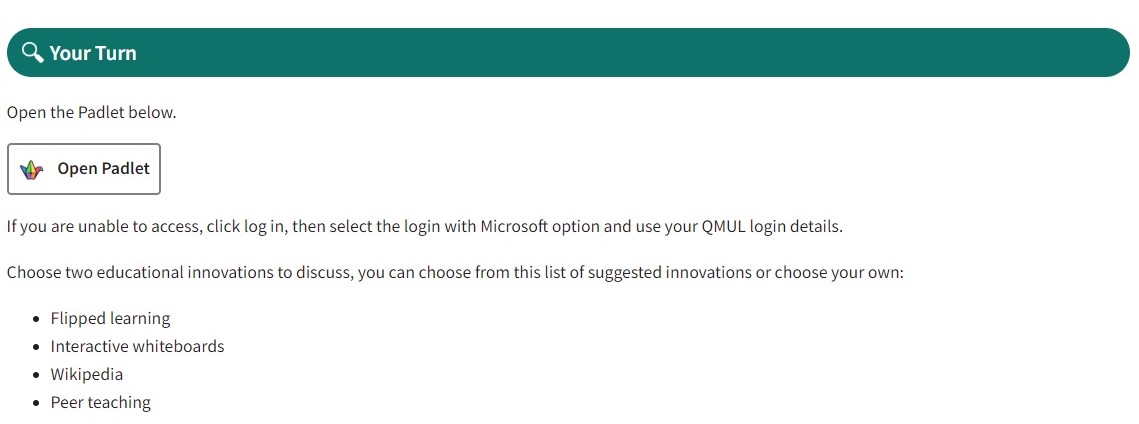
2. Your Turn_ Discussion Heading
Try this when asking learners to engage in online discussion. This doesn’t need to be limited to just text-based discussion in forums but could be used for any activity where students are in dialogue with each other. This can include image, video or audio and doesn’t just have to be text.
3. Your Turn_ Research Heading
Try this when asking learners to explore a topic or conduct their own research.
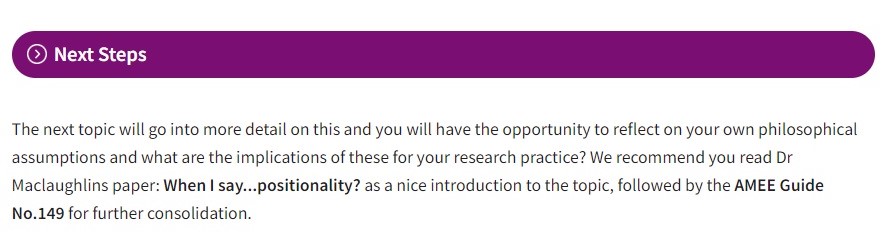
Next steps Heading
The Next steps Heading helps signpost the learner to the next topic and how they might prepare for it. This gives a visual consistency to the end of each topic whilst providing a call to action for further resources. It works best when it is made clear how the resources relate to the next topic, or if you have information on one page and an activity on the next, the next steps banner highlights how they will be using the current page later in the week or on the next page.
How to use the Snippets
Adding Snippets to your page is a simple process.
- In the page editor, locate your cursor at the point on the page at which you want the element to appear.
- Click the spider-web icon and choose the element you need from the drop-down menu that appears. The element will be inserted where your cursor is.
- Edit the element to add your content to it.
- Click on the text to highlight and replace it with your own text.
- For the Hero Banner you will need to upload a banner image (800px by 200px) by double clicking the banner image to open the file picker and choosing the image that you want to insert.
Watch the video below for an example of how to insert and edit a Hero Banner.
If you have further questions and require more support regarding the snippet tool, please email the TELT: servicedesk@qmul.ac.uk